The Honeywell Pro 6000 installation manual provides a comprehensive guide for installing and configuring the FocusPRO 6000 thermostat. It includes step-by-step instructions, system requirements, and troubleshooting tips to ensure smooth setup and operation. Designed for professionals and DIY enthusiasts, the manual emphasizes energy efficiency and ease of use, making it an essential resource for optimizing your heating and cooling systems. Available in PDF format, it offers detailed diagrams and clear explanations to help users achieve precise temperature control and reduce energy consumption effectively.
Overview of the Honeywell Pro 6000 Thermostat
The Honeywell Pro 6000 thermostat is a programmable digital device designed for precise temperature control and energy efficiency. It offers intuitive programming, customizable schedules, and advanced features like vacation mode to optimize energy usage. Compatible with various heating and cooling systems, this thermostat ensures seamless integration with your home’s HVAC setup. Its user-friendly interface and durable design make it a reliable choice for both residential and commercial applications, providing consistent comfort while helping to reduce energy costs.
Importance of Following the Installation Manual
Following the Honeywell Pro 6000 installation manual is crucial for ensuring proper functionality, safety, and energy efficiency. Incorrect installation can lead to system malfunctions, increased energy bills, or even damage to the thermostat or HVAC system. The manual provides step-by-step instructions tailored to the Pro 6000 model, helping users avoid common mistakes. By adhering to the guidelines, you ensure optimal performance, maintain warranty validity, and reduce the risk of safety hazards. Proper installation also guarantees precise temperature control and energy-saving features work as intended.
System Requirements and Compatibility
The Honeywell Pro 6000 thermostat requires a 24VAC power supply and is compatible with most HVAC systems, including heat pumps and dual-fuel systems. It supports 1- or 2-stage heating and cooling systems and works with optional equipment like humidifiers and dehumidifiers. Ensure your system matches the thermostat’s voltage and stage requirements for proper operation.
Voltage and Power Requirements
The Honeywell Pro 6000 thermostat operates on a 24VAC power supply, ensuring compatibility with most residential HVAC systems. It requires a common wire (C-wire) for proper operation in systems without a transformer. The thermostat can be hardwired or battery-powered, offering flexibility for installation. Ensure the system voltage matches the thermostat’s requirements to avoid damage or malfunction. Incorrect wiring or voltage mismatch can lead to improper functionality, so always verify compatibility before installation.
Compatibility with Heating and Cooling Systems
The Honeywell Pro 6000 thermostat is compatible with a wide range of heating and cooling systems, including gas, oil, electric, and heat pumps. It supports single-stage and multi-stage systems, up to 2 heat and 2 cool stages, ensuring flexibility for various HVAC configurations. The thermostat works with systems that require a common wire (C-wire) or those that do not, offering installation flexibility. It is suitable for both residential and commercial applications, providing precise temperature control for different types of heating and cooling setups. This versatility makes it a reliable choice for diverse climates and system requirements.

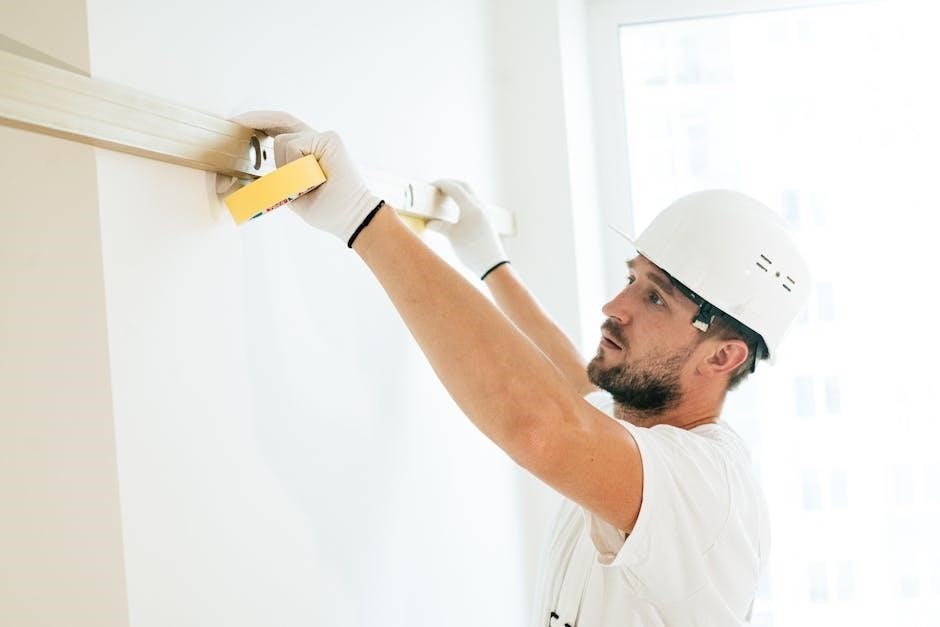
Installation Process

The Honeywell Pro 6000 installation involves removing the old thermostat, mounting the new unit, and connecting wires. Ensure the power is off and site is prepared properly. Follow step-by-step instructions for a smooth setup and perform final checks to verify functionality.

Preparing the Site for Installation
Begin by turning off the power to your heating and cooling system at the circuit breaker to ensure safety. Remove any furniture or obstructions near the old thermostat to provide clear access. Gently pull the existing thermostat away from the wallplate to avoid damaging the wires or the wall. Inspect the wires for any damage or corrosion and clean the wall area where the new thermostat will be mounted. Ensure the wall is level and ready for the new mounting bracket. Remove the battery holder from the new thermostat before installing it. Review the wiring diagram in the manual and label the wires to facilitate reconnection. Keep the power off until the new thermostat is fully installed and ready for testing. Gather all necessary tools, such as a screwdriver or drill, to prepare the wall for the new unit’s wallplate. Mount the wallplate securely, ensuring proper alignment and stability. By following these steps carefully, you can ensure a smooth and safe installation process.
Removing the Old Thermostat
Begin by switching off the power to your HVAC system at the circuit breaker to ensure safety. Gently pull the old thermostat away from the wallplate, taking care not to damage the wires or the wall. Label each wire with its corresponding terminal identifier using the wiring diagram from the manual as a reference. Carefully disconnect the wires from the old thermostat terminals. Remove any screws or clips securing the old thermostat to the wall. Once the thermostat is detached, inspect the area for any remaining adhesive or debris and clean it thoroughly. Handle the wires with care to prevent damage and keep them organized for the new installation. This step ensures a clean and safe transition to the new Honeywell Pro 6000 thermostat.
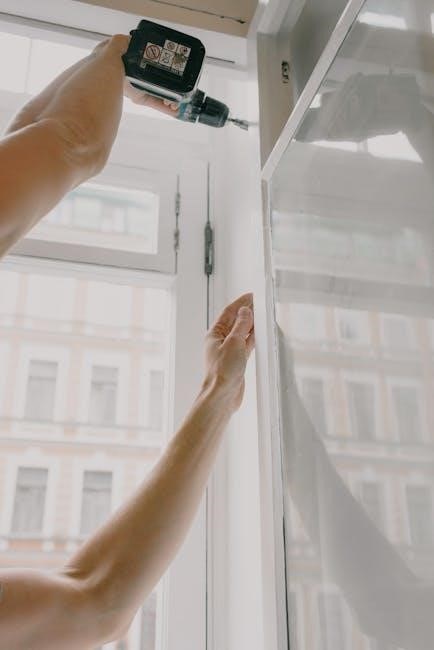
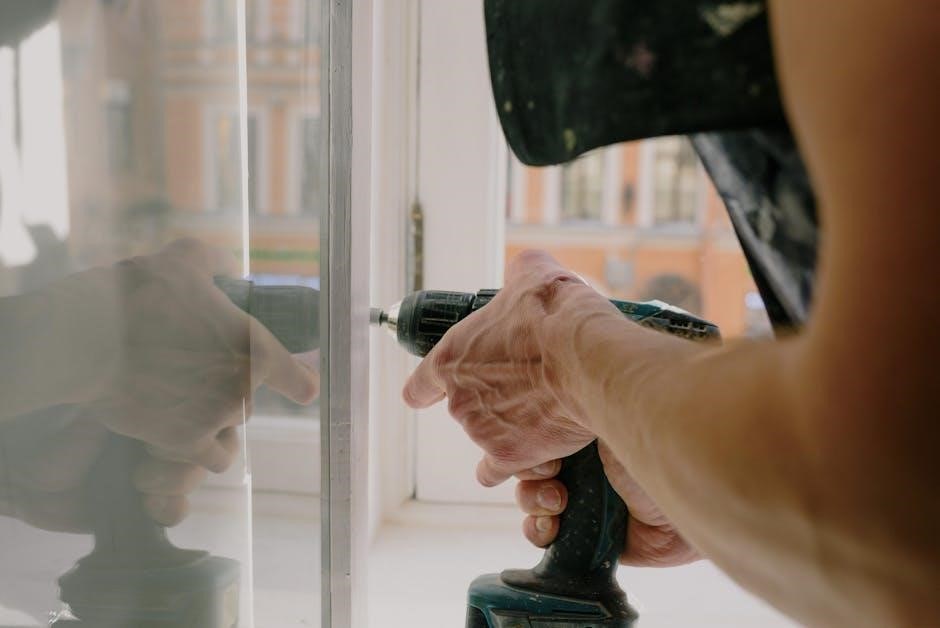
MOUNTING THE NEW THERMOSTAT
Mounting the Honeywell Pro 6000 thermostat begins with leveling the device to ensure accurate temperature readings. Remove the battery holder to access the wallplate. Separate the thermostat from the wallplate and screw the wallplate into the wall, ensuring it is secure and properly aligned. Once the wallplate is in place, attach the thermostat by aligning the tabs and gently snapping it into position. Verify that the thermostat is level and securely fastened to the wallplate. This step is crucial for proper functionality and energy efficiency. Ensure the area is clean and free of debris before finalizing the installation.
Connecting the Wires
Connecting the wires for the Honeywell Pro 6000 thermostat requires careful attention to avoid damage or incorrect operation. Start by turning off the power at the circuit breaker and verifying the old thermostat is disconnected. Identify and label the wires based on their functions (e.g;, R, W, Y, G, C) to ensure proper connection to the new thermostat. Match each wire to the corresponding terminal on the Honeywell Pro 6000, referring to the manual for specific wiring configurations. If your system requires jumper wires for features like emergency heat, install them as directed. Once connected, double-check all wire placements to ensure accuracy and functionality before restoring power.
Final Checks and Testing
After completing the installation, perform final checks to ensure the Honeywell Pro 6000 operates correctly. Restore power and verify the display lights up and functions properly. Test heating and cooling by adjusting the temperature and confirming the system responds. Check fan operation by switching modes. Ensure all wires are secure and the thermostat is mounted firmly. Review settings and schedules for accuracy. If issues arise, consult the manual for troubleshooting or contact support; Proper testing ensures optimal performance and energy efficiency.
Programming the Thermostat
Set the clock and date for accurate scheduling. Create a weekly schedule with temperature adjustments for different times of the day. Utilize vacation mode for energy savings when away. Program heating and cooling cycles to maintain comfort and efficiency. Adjust settings using the intuitive interface or remote access. Customize your preferences to optimize energy usage and ensure consistent comfort. Refer to the manual for detailed step-by-step instructions.
Setting the Clock and Date
Press the “Schedule” button to access the clock settings. Use the up and down arrows to adjust the time. Ensure the format is MM/DD/YYYY. Navigate to the date setting and use the arrows to change the numbers. Save your settings by pressing “Done.” Enable daylight saving time (DST) if desired. Confirm the time zone is set correctly. Testing the schedule afterward ensures proper functionality. Refer to the manual for detailed instructions. Proper clock and date settings are crucial for accurate thermostat operation and scheduling. Ensure all steps are followed carefully to avoid issues.
Creating a Weekly Schedule
Press the “Schedule” button to access the weekly programming menu. Use the up and down arrows to set the desired temperature and time periods for each day. Select the specific days you wish to program by highlighting them. Adjust the start and end times for heating and cooling cycles. Save your settings by pressing “Done.” The thermostat will automatically switch between settings based on your schedule. This feature helps maintain consistent comfort while optimizing energy usage. Regularly review and update your schedule to ensure it aligns with your lifestyle and preferences. Proper scheduling enhances energy efficiency and convenience.
Using Vacation Mode
Vacation Mode allows you to set a temporary temperature schedule while you’re away, helping reduce energy usage. Press “Menu,” select “Vacation,” and choose the start and end dates. Set the desired temperature for both heating and cooling during your absence. The thermostat will automatically adjust to these settings. Ensure the mode is activated before leaving to maximize energy savings. The thermostat may start cooling or heating before your return to reach the set temperature; Adjust settings as needed for optimal comfort and efficiency. Refer to the manual for detailed activation steps.

Troubleshooting Common Issues
Common issues include the thermostat not turning on, incorrect temperature readings, or fan malfunctions. Check power sources, wiring connections, and battery levels. Resetting the device or refer to the manual for detailed solutions can resolve most problems effectively.
The Thermostat Does Not Turn On
If the Honeywell Pro 6000 thermostat fails to turn on, first ensure it is properly powered. Check the circuit breaker and verify that the thermostat is securely attached to its base. Inspect the wiring connections for any loose or damaged wires. If using a battery-powered model, replace the batteries and ensure correct polarity. If issues persist, reset the thermostat by pressing and holding the fan button and the up arrow simultaneously for three seconds. Refer to the manual for additional troubleshooting steps to restore functionality and prevent future occurrences. Always follow safety guidelines to avoid equipment damage during the process.
Incorrect Temperature Readings
If the Honeywell Pro 6000 thermostat displays incorrect temperature readings, ensure the sensor is clean and free from obstructions. Verify that the thermostat is installed in an area representative of the room’s average temperature, avoiding direct sunlight or drafts. Check for proper calibration by pressing and holding the “Fan” and “Up Arrow” buttons simultaneously to access the advanced settings menu. Adjust the temperature offset if necessary to align the displayed temperature with the actual room temperature. Regularly cleaning the thermostat and ensuring correct installation can prevent such issues and ensure accurate readings for optimal performance and energy efficiency.
Fan Not Operating Correctly
If the fan on your Honeywell Pro 6000 thermostat is not operating correctly, check the wiring connections to ensure they are secure and correctly labeled. Verify that the fan mode is set to “ON” or “Auto” in the thermostat settings. If the fan runs continuously, ensure the “Hold” function is not active. Clean any dust or debris from the thermostat and fan components. If issues persist, consult the installation manual or contact Honeywell customer support for further assistance to resolve the problem and restore proper fan operation.
Maintenance and Care
Regularly replace batteries once a year and clean the thermostat screen to ensure optimal performance. Proper maintenance ensures accurate temperature control and extends the product’s lifespan.
Battery Replacement
To maintain uninterrupted performance, replace the Honeywell Pro 6000 thermostat batteries annually. Remove the thermostat from its wallplate, open the battery compartment, and replace the old batteries with fresh ones, ensuring proper polarity alignment. Proper battery replacement ensures accurate temperature control and prevents system malfunctions. Refer to the manual for detailed steps and safety precautions to guarantee a smooth process and optimal functionality of your thermostat.
Cleaning the Thermostat
Regular cleaning of the Honeywell Pro 6000 thermostat is essential to maintain its performance and extend its lifespan. Power off the device and gently remove it from the wallplate. Use a soft, dry cloth to wipe away dust and dirt from the display and exterior surfaces. For stubborn spots, lightly dampen the cloth with water, but avoid harsh chemicals or excessive moisture. Allow the thermostat to dry completely before reinstalling it. Proper cleaning ensures accurate temperature readings and smooth operation of your heating and cooling system.

Customer Support and Resources
Honeywell offers dedicated customer support for the Pro 6000 thermostat. Visit customer.honeywell.com for assistance or call toll-free at 1-800-468-1502. Additional resources, including manuals and troubleshooting guides, are available online, ensuring seamless support for installation, programming, and maintenance.
Contacting Honeywell Customer Care
For assistance with your Honeywell Pro 6000 thermostat, visit customer.honeywell.com or call Honeywell Customer Care toll-free at 1-800-468-1502. This service provides expert support for installation, troubleshooting, and maintenance. Additionally, online resources, including manuals and FAQs, are available to help resolve common issues and optimize your thermostat’s performance. Honeywell’s dedicated team ensures prompt and reliable assistance to address any concerns you may have.
Accessing Additional Resources Online
For comprehensive support, visit Honeywell’s official website at customer.honeywell.com. Here, you can access the Honeywell Pro 6000 installation manual in PDF format, along with additional resources such as FAQs, troubleshooting guides, and user forums. The website also offers detailed product specifications, installation videos, and energy-saving tips. By utilizing these online resources, you can maximize the performance of your thermostat and resolve any issues efficiently. Honeywell’s online support ensures you have all the tools needed for optimal operation.