The Honeywell FocusPRO TH5220D1029 is a non-programmable digital thermostat designed for simplicity and efficiency. It offers precise temperature control and compatibility with various HVAC systems, ensuring optimal performance.
With a user-friendly interface and versatile features, this thermostat is ideal for homeowners seeking reliable climate control. The installation manual provides detailed guidance for a seamless setup experience.
1.1 Overview of the Thermostat Features
The Honeywell FocusPRO TH5220D1029 is a non-programmable digital thermostat offering precise temperature control and ease of use. It features a backlit display for clear visibility, cooling lockout to prevent compressor damage, and system mode options like heat, cool, and auto changeover. The thermostat supports various HVAC systems, including heat pumps, and requires minimal setup. Its user-friendly interface allows for straightforward adjustments, while the battery backup ensures operation during power outages. This thermostat is designed for reliability, efficiency, and compatibility with modern heating and cooling systems, making it a versatile choice for homeowners.
1.2 Importance of Proper Installation
Proper installation of the Honeywell FocusPRO TH5220D1029 is crucial for optimal performance and safety. Incorrect wiring or setup can lead to system malfunctions, reduced efficiency, or even equipment damage. Ensuring the thermostat is installed at the correct height and in a location with good air circulation is essential for accurate temperature readings. Adhering to the installation manual’s guidelines helps prevent errors and ensures compatibility with the HVAC system. A correct setup also guarantees reliable operation, energy savings, and extends the lifespan of both the thermostat and the heating/cooling system.
Pre-Installation Checklist
Ensure power is turned off at the circuit breaker. Gather tools like screwdrivers, pliers, and a voltage tester. Verify system compatibility and collect necessary materials for a smooth installation process.
2.1 Tools and Materials Required
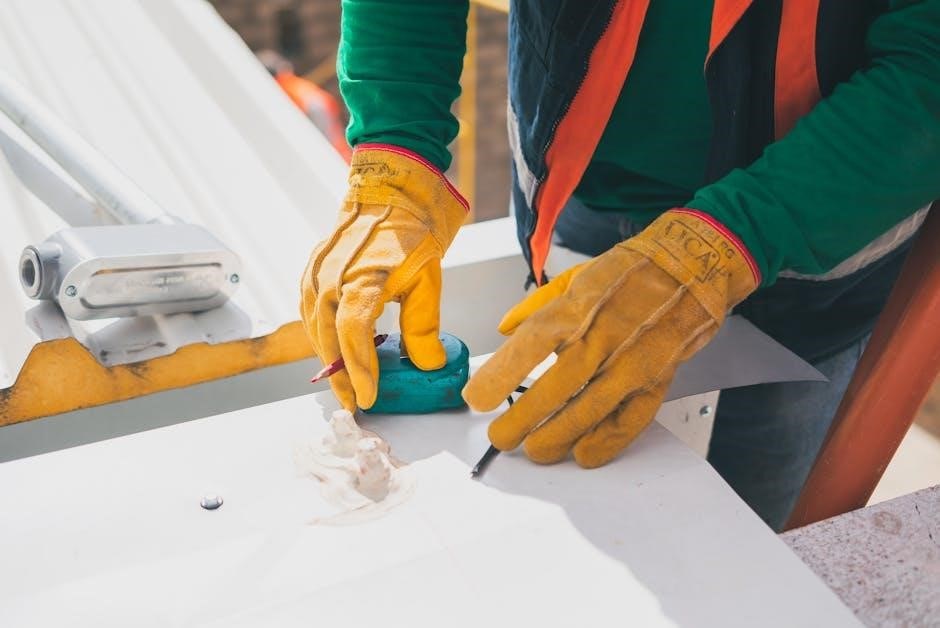
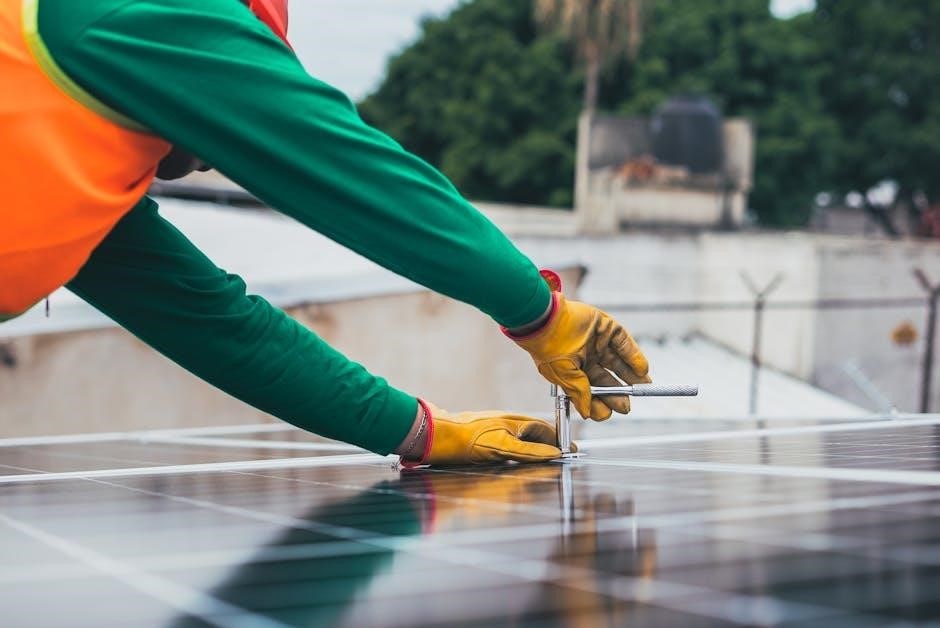
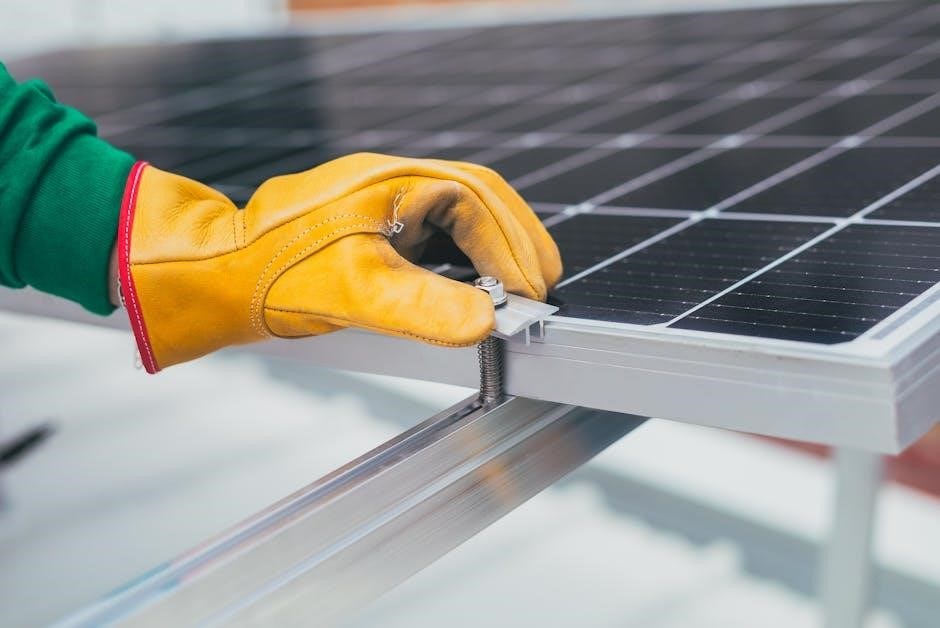
To install the Honeywell FocusPRO TH5220D1029 thermostat, you’ll need essential tools and materials. Start with a screwdriver (both Phillips and flathead) for removing wires and mounting the wallplate. Pliers may be necessary for wire stripping, and a voltage tester ensures safe handling of electrical connections. Additionally, gather mounting screws, wall anchors, and a battery holder for the thermostat. Optional items include a drill for pilot holes and a level to ensure proper alignment. Having these tools ready will streamline the installation process and prevent delays.
2.2 Safety Precautions
Before starting the installation, ensure the power to your HVAC system is turned off at the circuit breaker or fuse box. Verify this using a voltage tester to avoid electrical shock. Keep the furnace or heating system door closed securely during installation to prevent accidental activation. Never operate the cooling system if the outdoor temperature is below 50°F (10°C) to prevent compressor damage. Always handle wires carefully, and avoid touching electrical components without proper insulation. Replace batteries annually to maintain backup power functionality. Following these precautions ensures a safe and successful installation process.

Installation Process
The installation involves three main steps: wallplate installation, wiring, and mounting the thermostat. Ensure all connections are secure and follow the manual for accurate setup.
3.1 Wallplate Installation
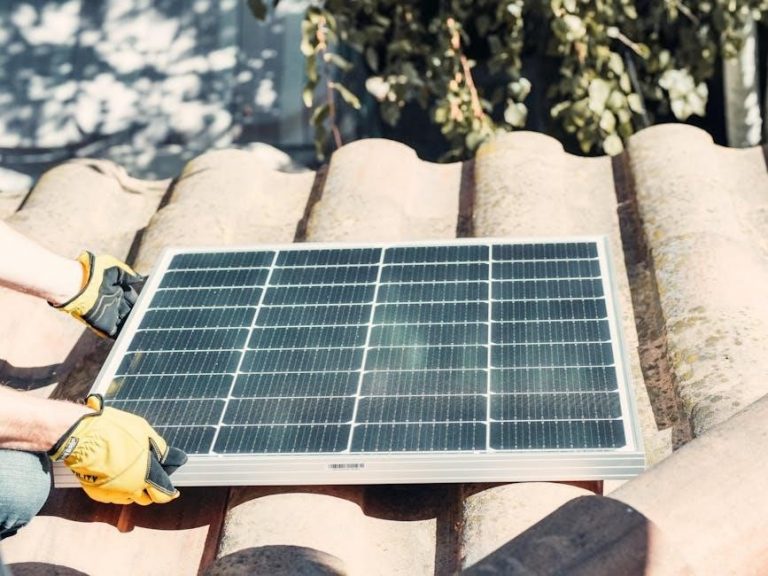
The wallplate installation begins by removing it from the thermostat. Separate the wallplate and battery holder, then mark the wall location for drilling. Use anchors if necessary to secure the wallplate. Ensure the wallplate is level and firmly attached. After mounting, reattach the battery holder. The thermostat should be installed approximately 5 feet above the floor for accurate temperature sensing. This placement ensures it is exposed to average room conditions, avoiding direct sunlight or drafts for optimal performance.
3.2 Wiring Instructions
Wiring the Honeywell FocusPRO TH5220D1029 requires careful attention to ensure proper system function. Start by turning off the power to the HVAC system at the circuit breaker. Identify and label each wire according to its function, matching them to the appropriate terminals on the thermostat. Securely connect the wires to the terminal block, ensuring no loose connections. Refer to the wiring diagram in the manual for specific configurations. After wiring, restore power and test the system to confirm all functions operate correctly. Proper wiring ensures safe and efficient thermostat operation.
3.3 Mounting the Thermostat
Mounting the Honeywell FocusPRO TH5220D1029 thermostat involves securing it to the wallplate. Begin by removing the wallplate from the thermostat and attaching it to the wall using screws or anchors. Ensure the wallplate is level and firmly fixed. Next, align the thermostat with the wallplate, ensuring proper fitment. Secure the thermostat to the wallplate using the provided screws. Avoid mounting near direct sunlight or drafts for accurate temperature readings. Finally, verify the thermostat is level and tightly fastened for optimal performance and reliability.
Installer Setup Configuration
Configure system type and fan control during setup. Ensure settings match your HVAC system for optimal performance. Adjust options as needed for customized operation.
4.1 Setting the System Type
Setting the system type ensures the thermostat operates correctly with your HVAC equipment. Use Installer Setup to select options like 2Heat/1Cool or Heat Pump configurations. Refer to the manual for specific settings. Proper configuration prevents errors and optimizes performance. Match the system type to your installed equipment for accurate temperature control and efficiency.
4.2 Configuring Fan Control
Configuring fan control allows you to manage airflow settings. Set the fan to Auto or On mode via Installer Setup. Auto mode runs the fan only during heating or cooling, while On mode keeps it running continuously. Proper fan control ensures efficient system operation and consistent comfort. Refer to the manual for detailed instructions on configuring fan settings to match your HVAC system’s requirements. This step is crucial for optimal performance and energy efficiency.

Power Options and Battery Installation
The thermostat can operate on AC power or batteries. Install fresh batteries annually or use AC power for continuous operation. Ensure proper installation to avoid damage.
5.1 AC Power Setup
The Honeywell FocusPRO TH5220D1029 can be powered using AC electricity, eliminating the need for batteries. Connect the thermostat to your HVAC system’s power source to ensure continuous operation. Verify that the power switch at the heating and cooling system is turned on before proceeding. If the system has a circuit breaker, check that it is not tripped. For systems with a furnace, ensure the furnace door is securely closed to avoid safety issues. Never operate the cooling system if the outdoor temperature is below 50°F (10°C) to prevent potential compressor damage. Proper AC power setup ensures reliable performance and avoids battery maintenance hassles.
5.2 Battery Installation and Maintenance
The Honeywell FocusPRO TH5220D1029 requires two fresh AA alkaline batteries for backup power if not using AC power. Install the batteries immediately when the “REPLACE BATTERY” warning flashes. Batteries should be replaced annually to ensure uninterrupted operation. Use high-quality alkaline batteries to avoid performance issues. If the thermostat is wired to run on AC power, batteries are optional but recommended for backup during power outages. Always check the battery compartment for proper alignment to prevent installation errors. Replace batteries promptly to maintain thermostat functionality and avoid system disruptions.
Post-Installation Steps
After installation, test the system to ensure proper functionality. Verify temperature settings and operation mode. Check for any errors and adjust settings as needed. Ensure all connections are secure and functioning correctly.
6.1 Testing the System
After installation, test the system to ensure proper functionality. Check the thermostat display for accurate temperature readings. Test heating and cooling modes to confirm they activate correctly. Verify temperature accuracy by comparing the display with an external thermometer. Ensure proper system operation by observing if the HVAC equipment responds as expected. Check for error messages and address any issues promptly. Confirm fan operation in both Auto and On modes. Ensure all features, including cooling lockout and auto changeover, function as intended. Resolve any issues before finalizing the installation.
6.2 Final Checks and Adjustments
Perform a thorough visual inspection to ensure all connections are secure and the thermostat is properly mounted. Verify battery installation if applicable, and check for any error messages on the display. Review system settings, such as system type, fan control, and temperature limits, to ensure they match your HVAC setup. Ensure the thermostat is level for accurate temperature sensing. Test all operating modes (Heat, Cool, Off, and Auto) to confirm smooth transitions. Adjust any settings as needed for optimal performance. Document the final configuration for future reference.
Additional Features and Settings
The Honeywell FocusPRO TH5220D1029 features a cooling lockout to prevent compressor damage and an auto changeover option for seamless switching between heating and cooling modes. It also includes manual override capabilities, offering enhanced control and flexibility for various HVAC systems. These settings ensure optimal performance and adaptability to different environmental conditions.
7.1 Cooling Lockout Feature
The Honeywell FocusPRO TH5220D1029 includes a cooling lockout feature to prevent compressor damage. This feature disables cooling operation when the outdoor temperature drops below 50°F (10°C), ensuring system protection. It is particularly useful for heat pumps and systems requiring temperature-based restrictions. The lockout can be enabled or disabled during installer setup, depending on the specific HVAC configuration. This feature enhances system longevity and prevents potential damage from operating in unfavorable conditions, making it a key component for reliable performance in various climates.
7.2 Auto Changeover and Manual Override
The Honeywell FocusPRO TH5220D1029 offers Auto Changeover and Manual Override modes for flexible temperature control. Auto Changeover automatically switches between heating and cooling based on the set temperature, while Manual Override allows users to switch modes manually. This feature is ideal for systems requiring precise climate management. To enable Auto Changeover, press the system button until “Auto” appears on the screen. For Manual Override, select the desired mode (Heat, Cool, or Off) using the same button. This functionality ensures optimal comfort and efficiency in various environmental conditions, adapting seamlessly to user preferences.

Troubleshooting Common Issues
Common issues include the system not turning on or incorrect temperature readings; Ensure power sources are stable and circuit breakers are reset if necessary.
Check for loose wiring, faulty sensors, or outdated software. Refer to the manual for specific error codes and solutions to restore functionality quickly and effectively.
8.1 Common Installation Mistakes
Common installation mistakes include improper wallplate installation, incorrect wiring connections, and ignoring safety precautions. Ensure the wallplate is securely mounted and leveled correctly to avoid operational issues. Incorrect wiring, such as reversing the Rc and Rh wires, can lead to system malfunctions. Always turn off power at the circuit breaker before starting installation. Additionally, failing to follow the pre-installation checklist or rushing through the process can result in configuration errors. Refer to the manual for step-by-step guidance and double-check all connections before powering up the system.
8.2 Resolving Power and Connectivity Issues
Power and connectivity issues can often be resolved by checking the circuit breaker or ensuring the power switch at the HVAC system is on. Verify that the thermostat is properly connected to the correct wiring terminals and that no loose connections exist. If using batteries, replace them immediately when the “REPLACE BATTERY” warning appears. Ensure the furnace door is closed securely, as an open door can disable the system. For connectivity problems, restart the system by turning the power off and on again. Consult the manual for specific troubleshooting steps tailored to your setup.